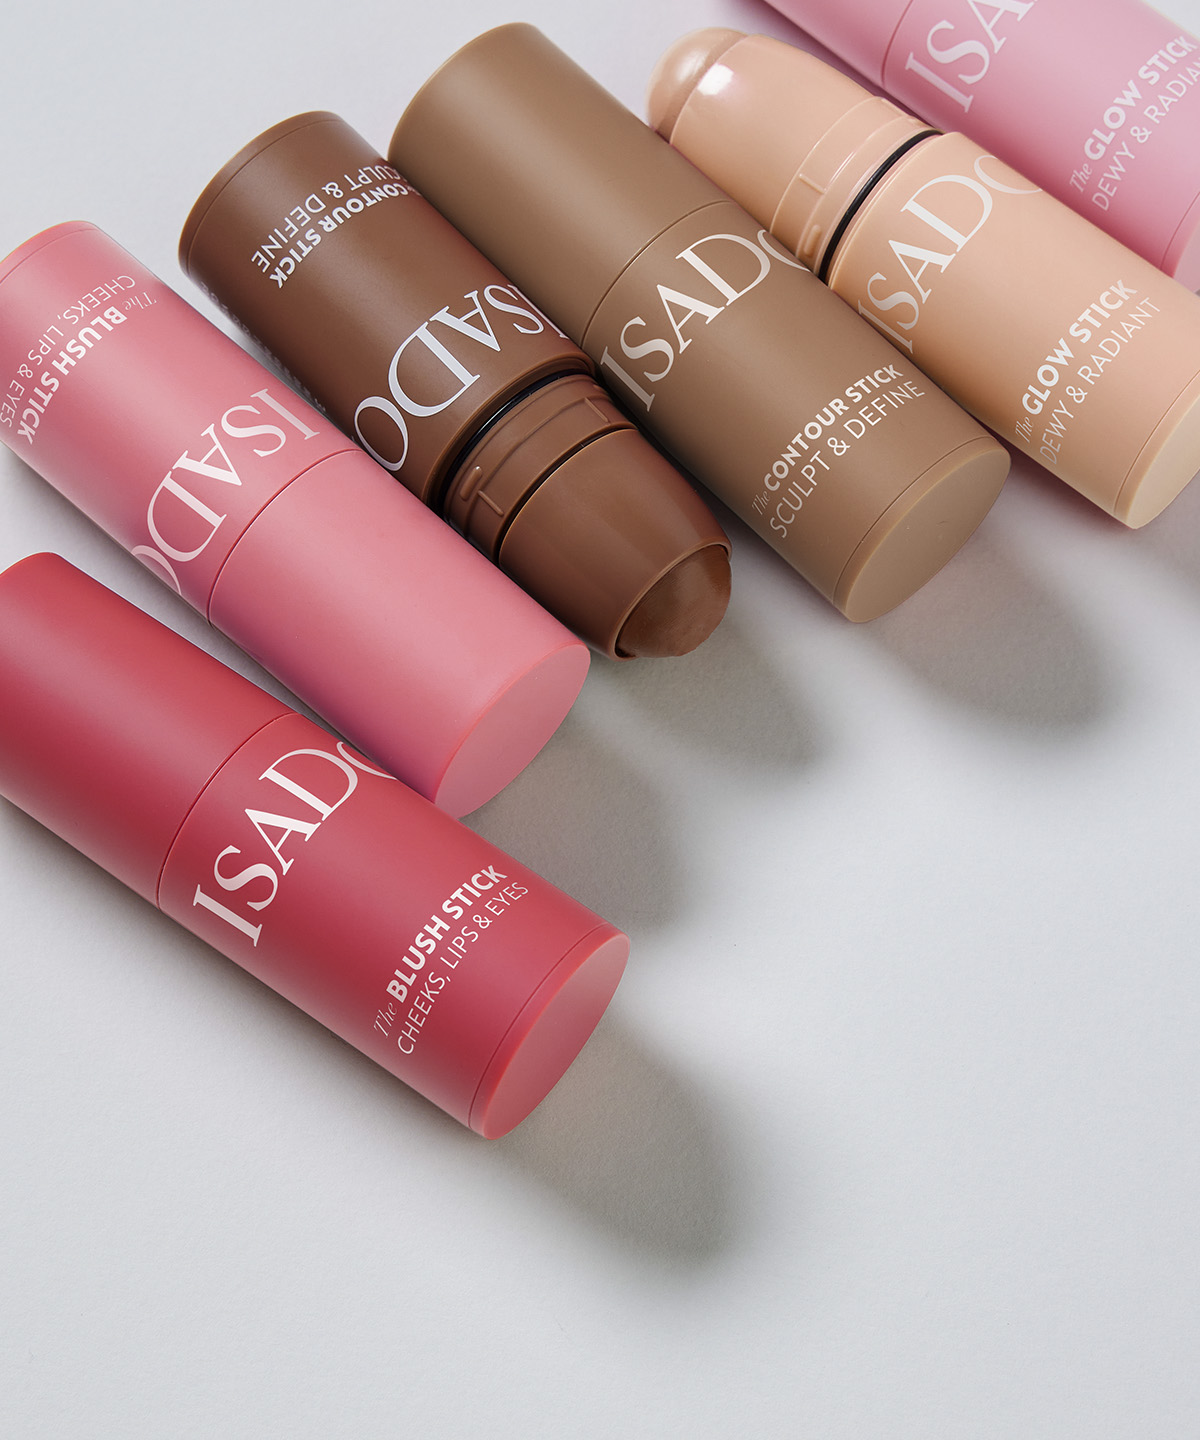
From dewy blushes to bronzed tones and shimmering highlighters. Multisticks has undoubtedly earned it's place as must-have companions in every beauty lover's toolkit. But what exactly is a multistick and how does it fit into your beauty routine? This step-by-step guide will help you understand how to use them and pick the right shade.
After applying your favorite foundation on bare skin, apply The Contour Stick to sculpt and bronze. Blend with fingers, sponge or brush.
The placement and choice of shade depend on the end result you’re hoping to achieve.
With just a few swipes and a gentle blend, this multitasker creates a natural, dewy and lived-in color to your complexion. For a fresh, flushed look - apply directly onto the apples of cheeks, or higher on your cheekbones for a lifted look. Blend out toward the hairline with brush, fingers or sponge. You can also dab the blush onto lips or lids for a soft, stain-like finish.
To use the cream highlighter, swipe it directly onto your skin where you want to luminosity, like your cheekbones or nose bridge. Or warm it on your hand first, then apply with fingers or a brush. Blend by tapping around the edges until smooth. Apply cream highlighter after foundation. Avoid putting powder on top to keep the dewy finish.